So I first came up with the idea for this project when I started watching the series ‘Vikings’ again, and shortly after that Assassins Creed Valhalla was released. I think I went a bit with that small ‘Viking-hype’ made the game… Also we had a homework that consisted of simulating realistic fur, which could be very well combined with this project.
For some WIP screenshots you can also take a look at my blog.
So below you can find a rather detailed description on how I approached this project.
...
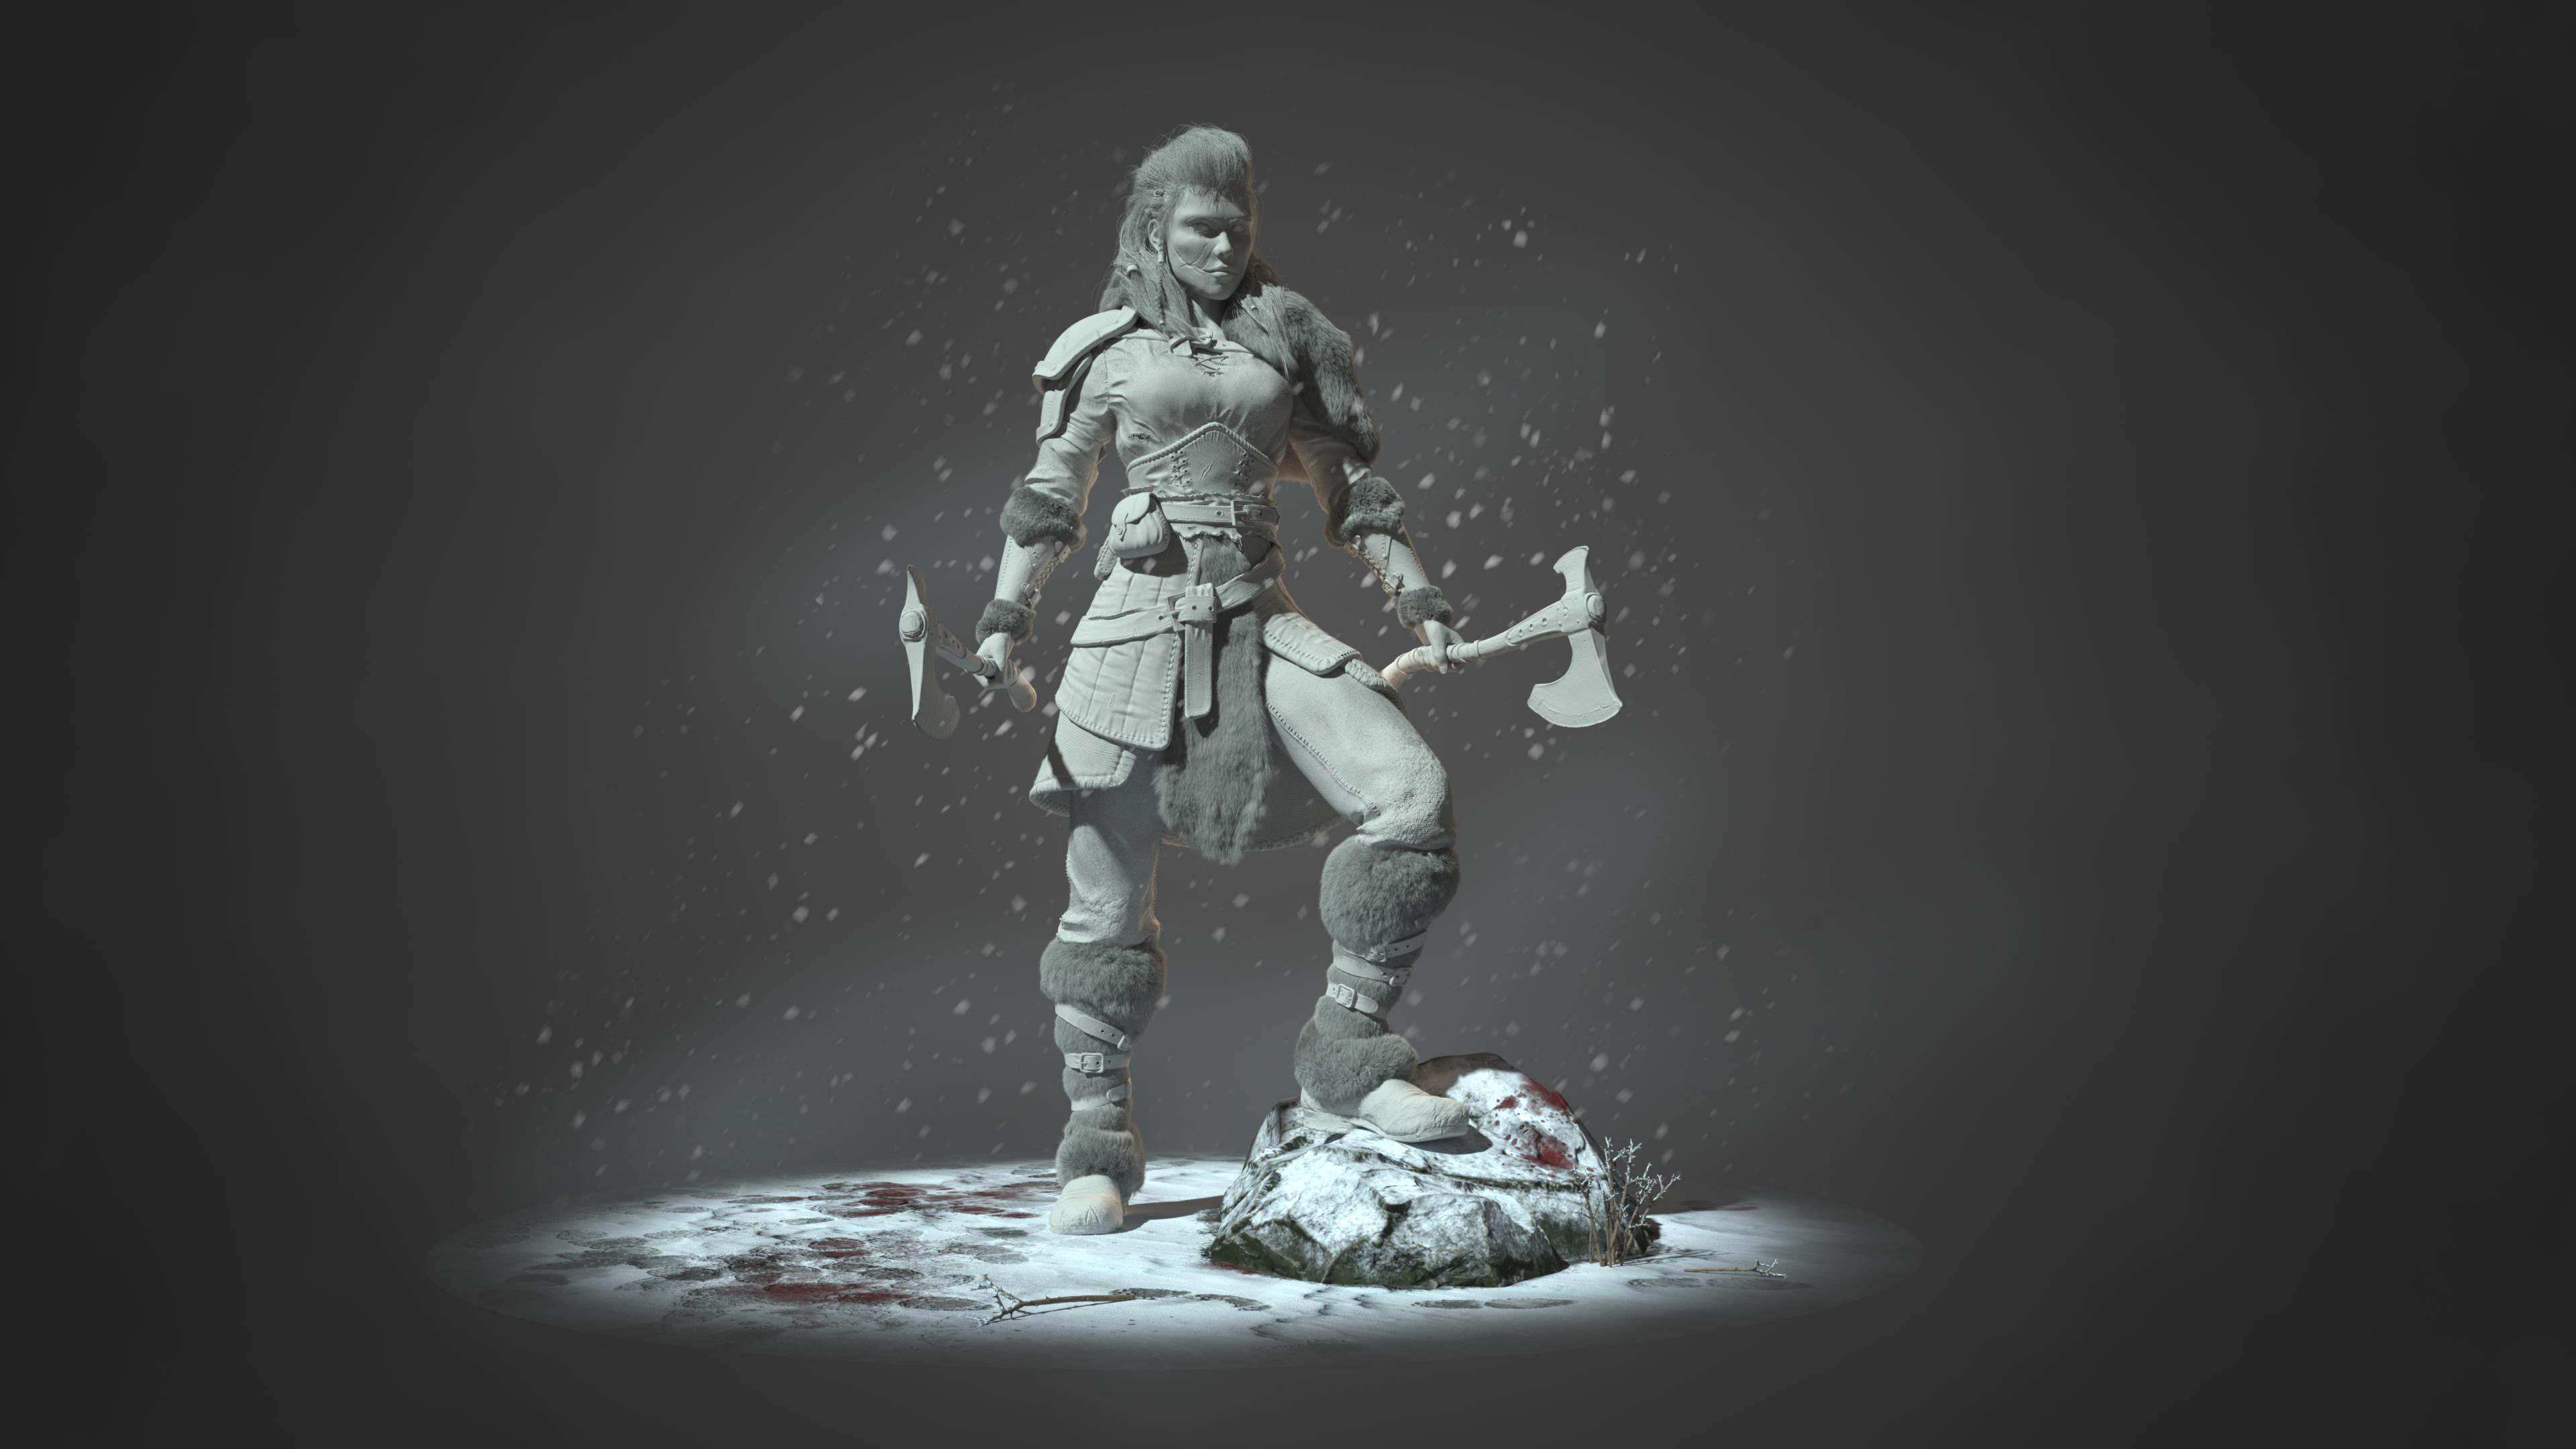
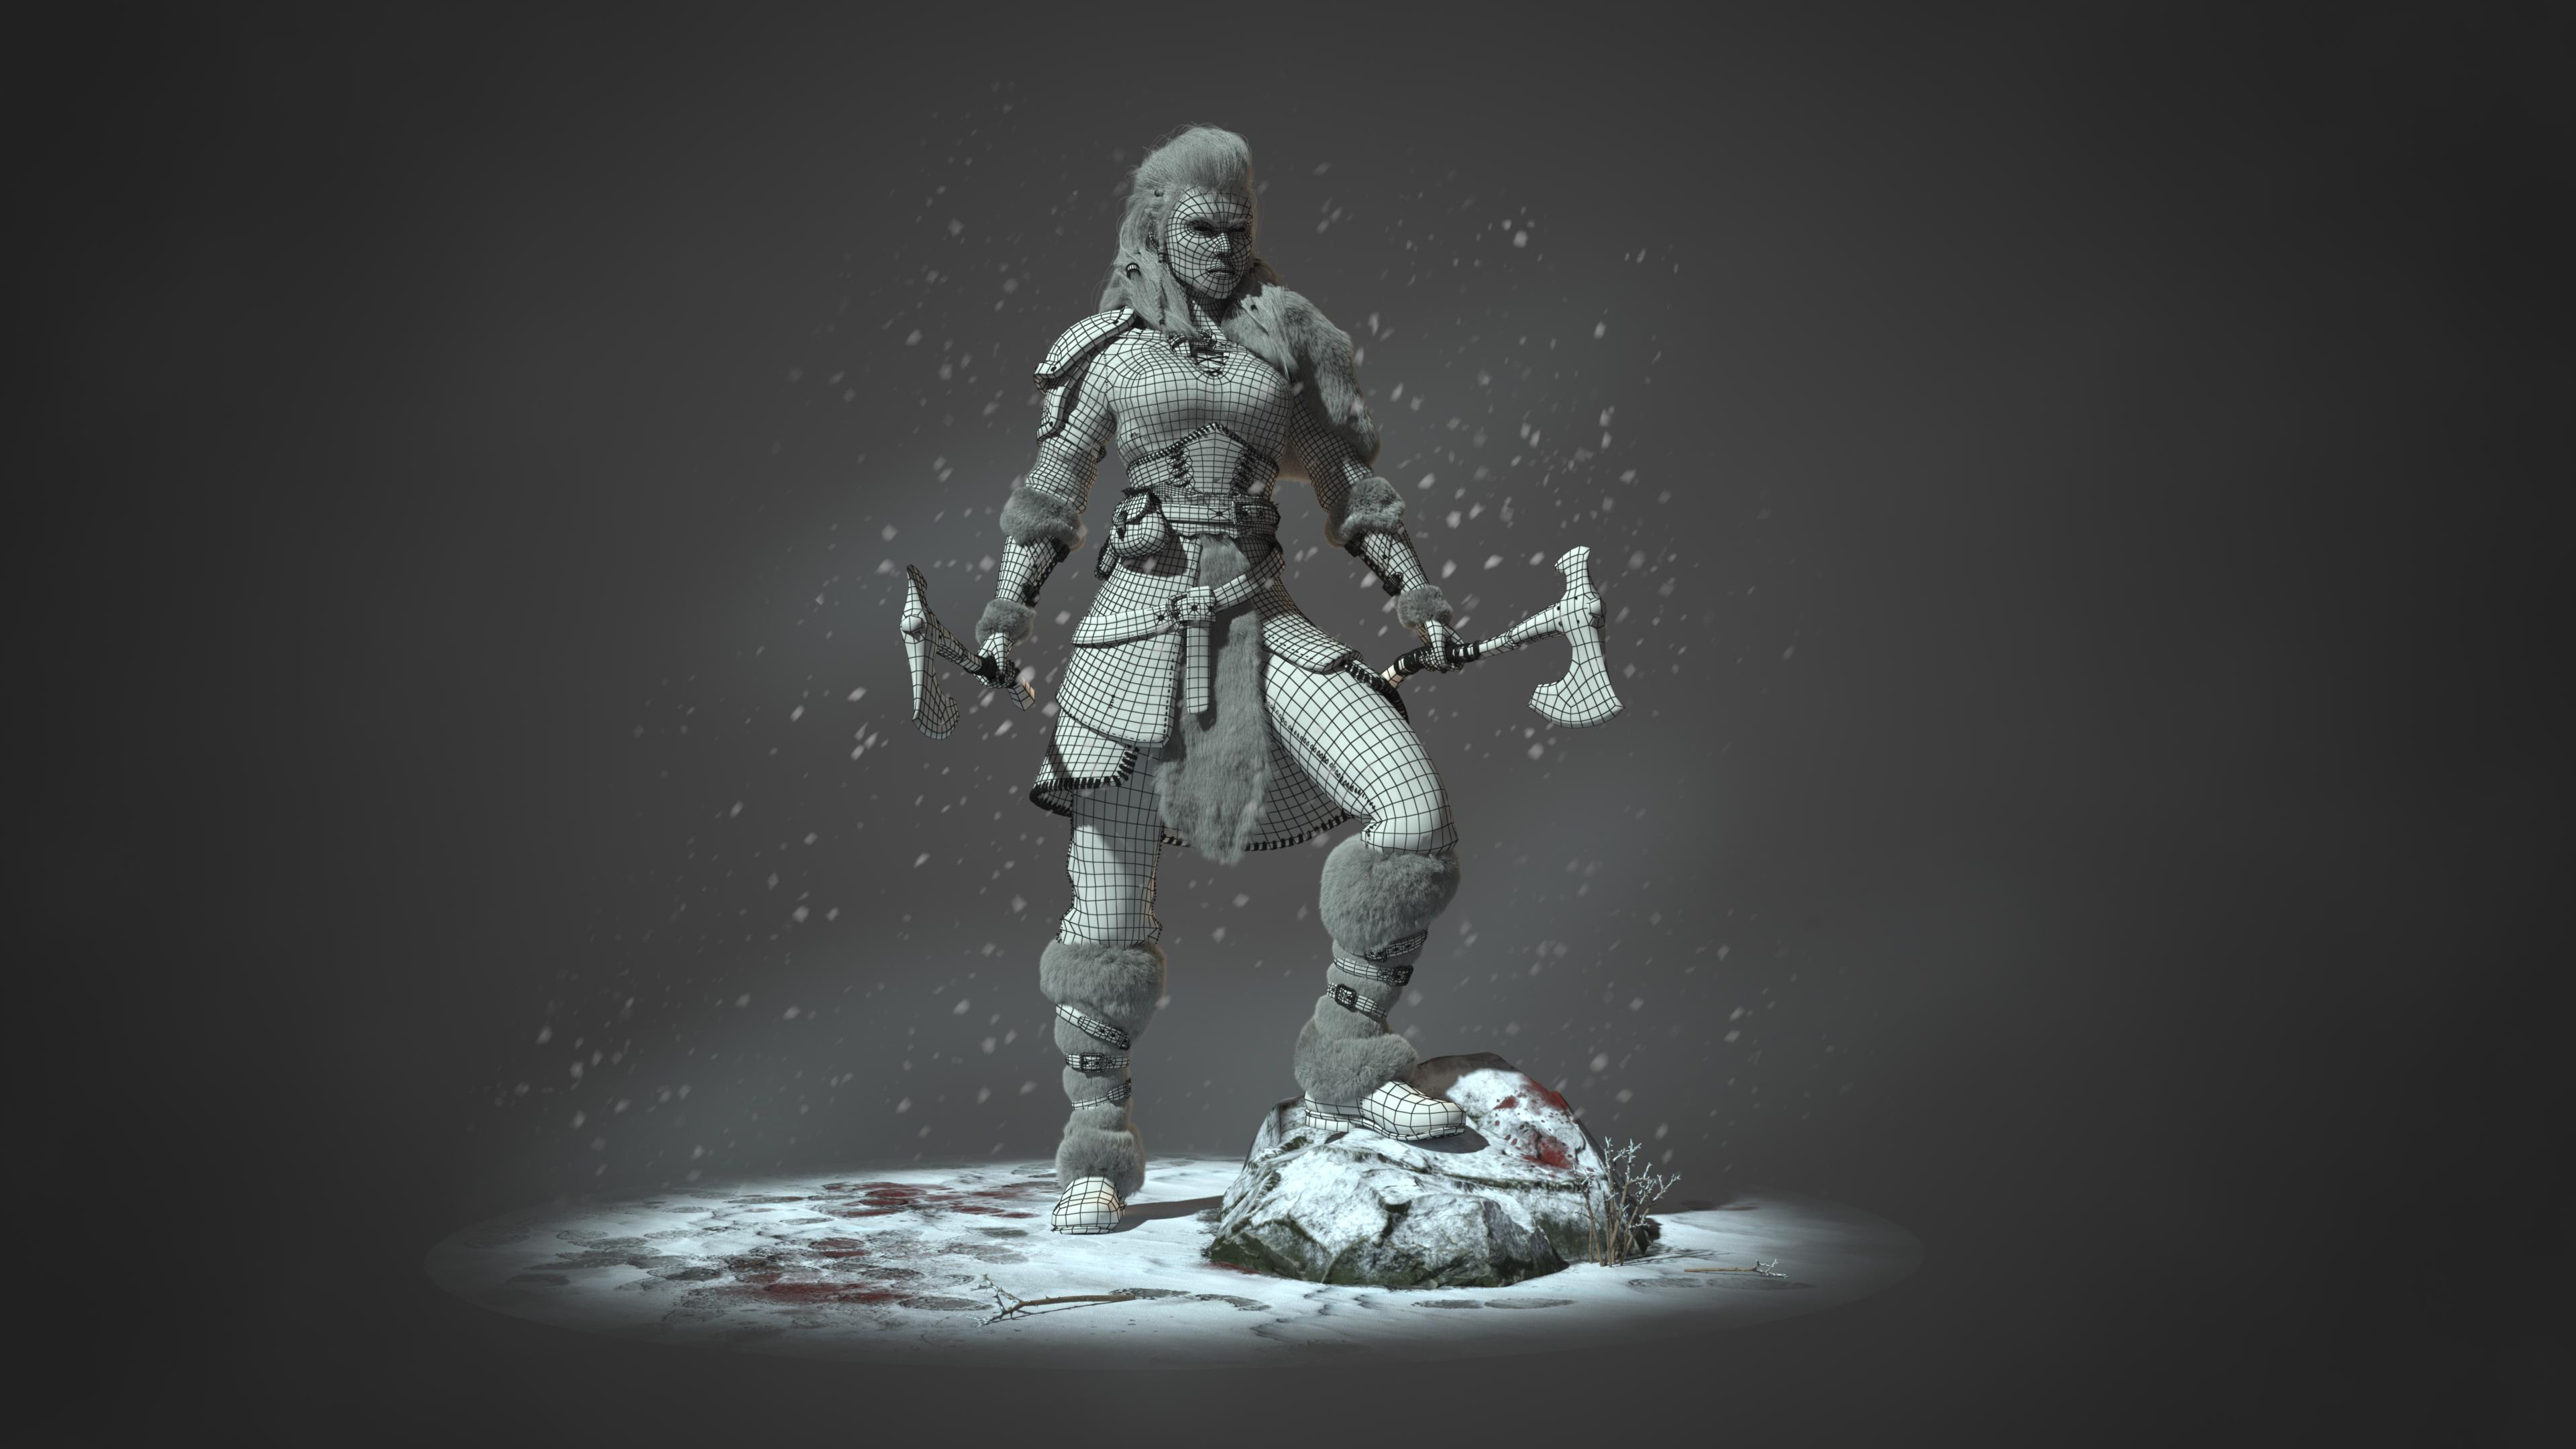
I started with sculpting the body out of a ZSphere in ZBrush. I used some references there too to help me with the proportions. At this point I decided to sculpt the character in A-Pose and to rig her later for posing. (Probably I should have sculpted her directly in pose, that would have saved me a lot of time and trouble with xgen later anyway…) So I sculpted my way towards the clothing, armor and accessories. The retopology and UVs I made in Maya.

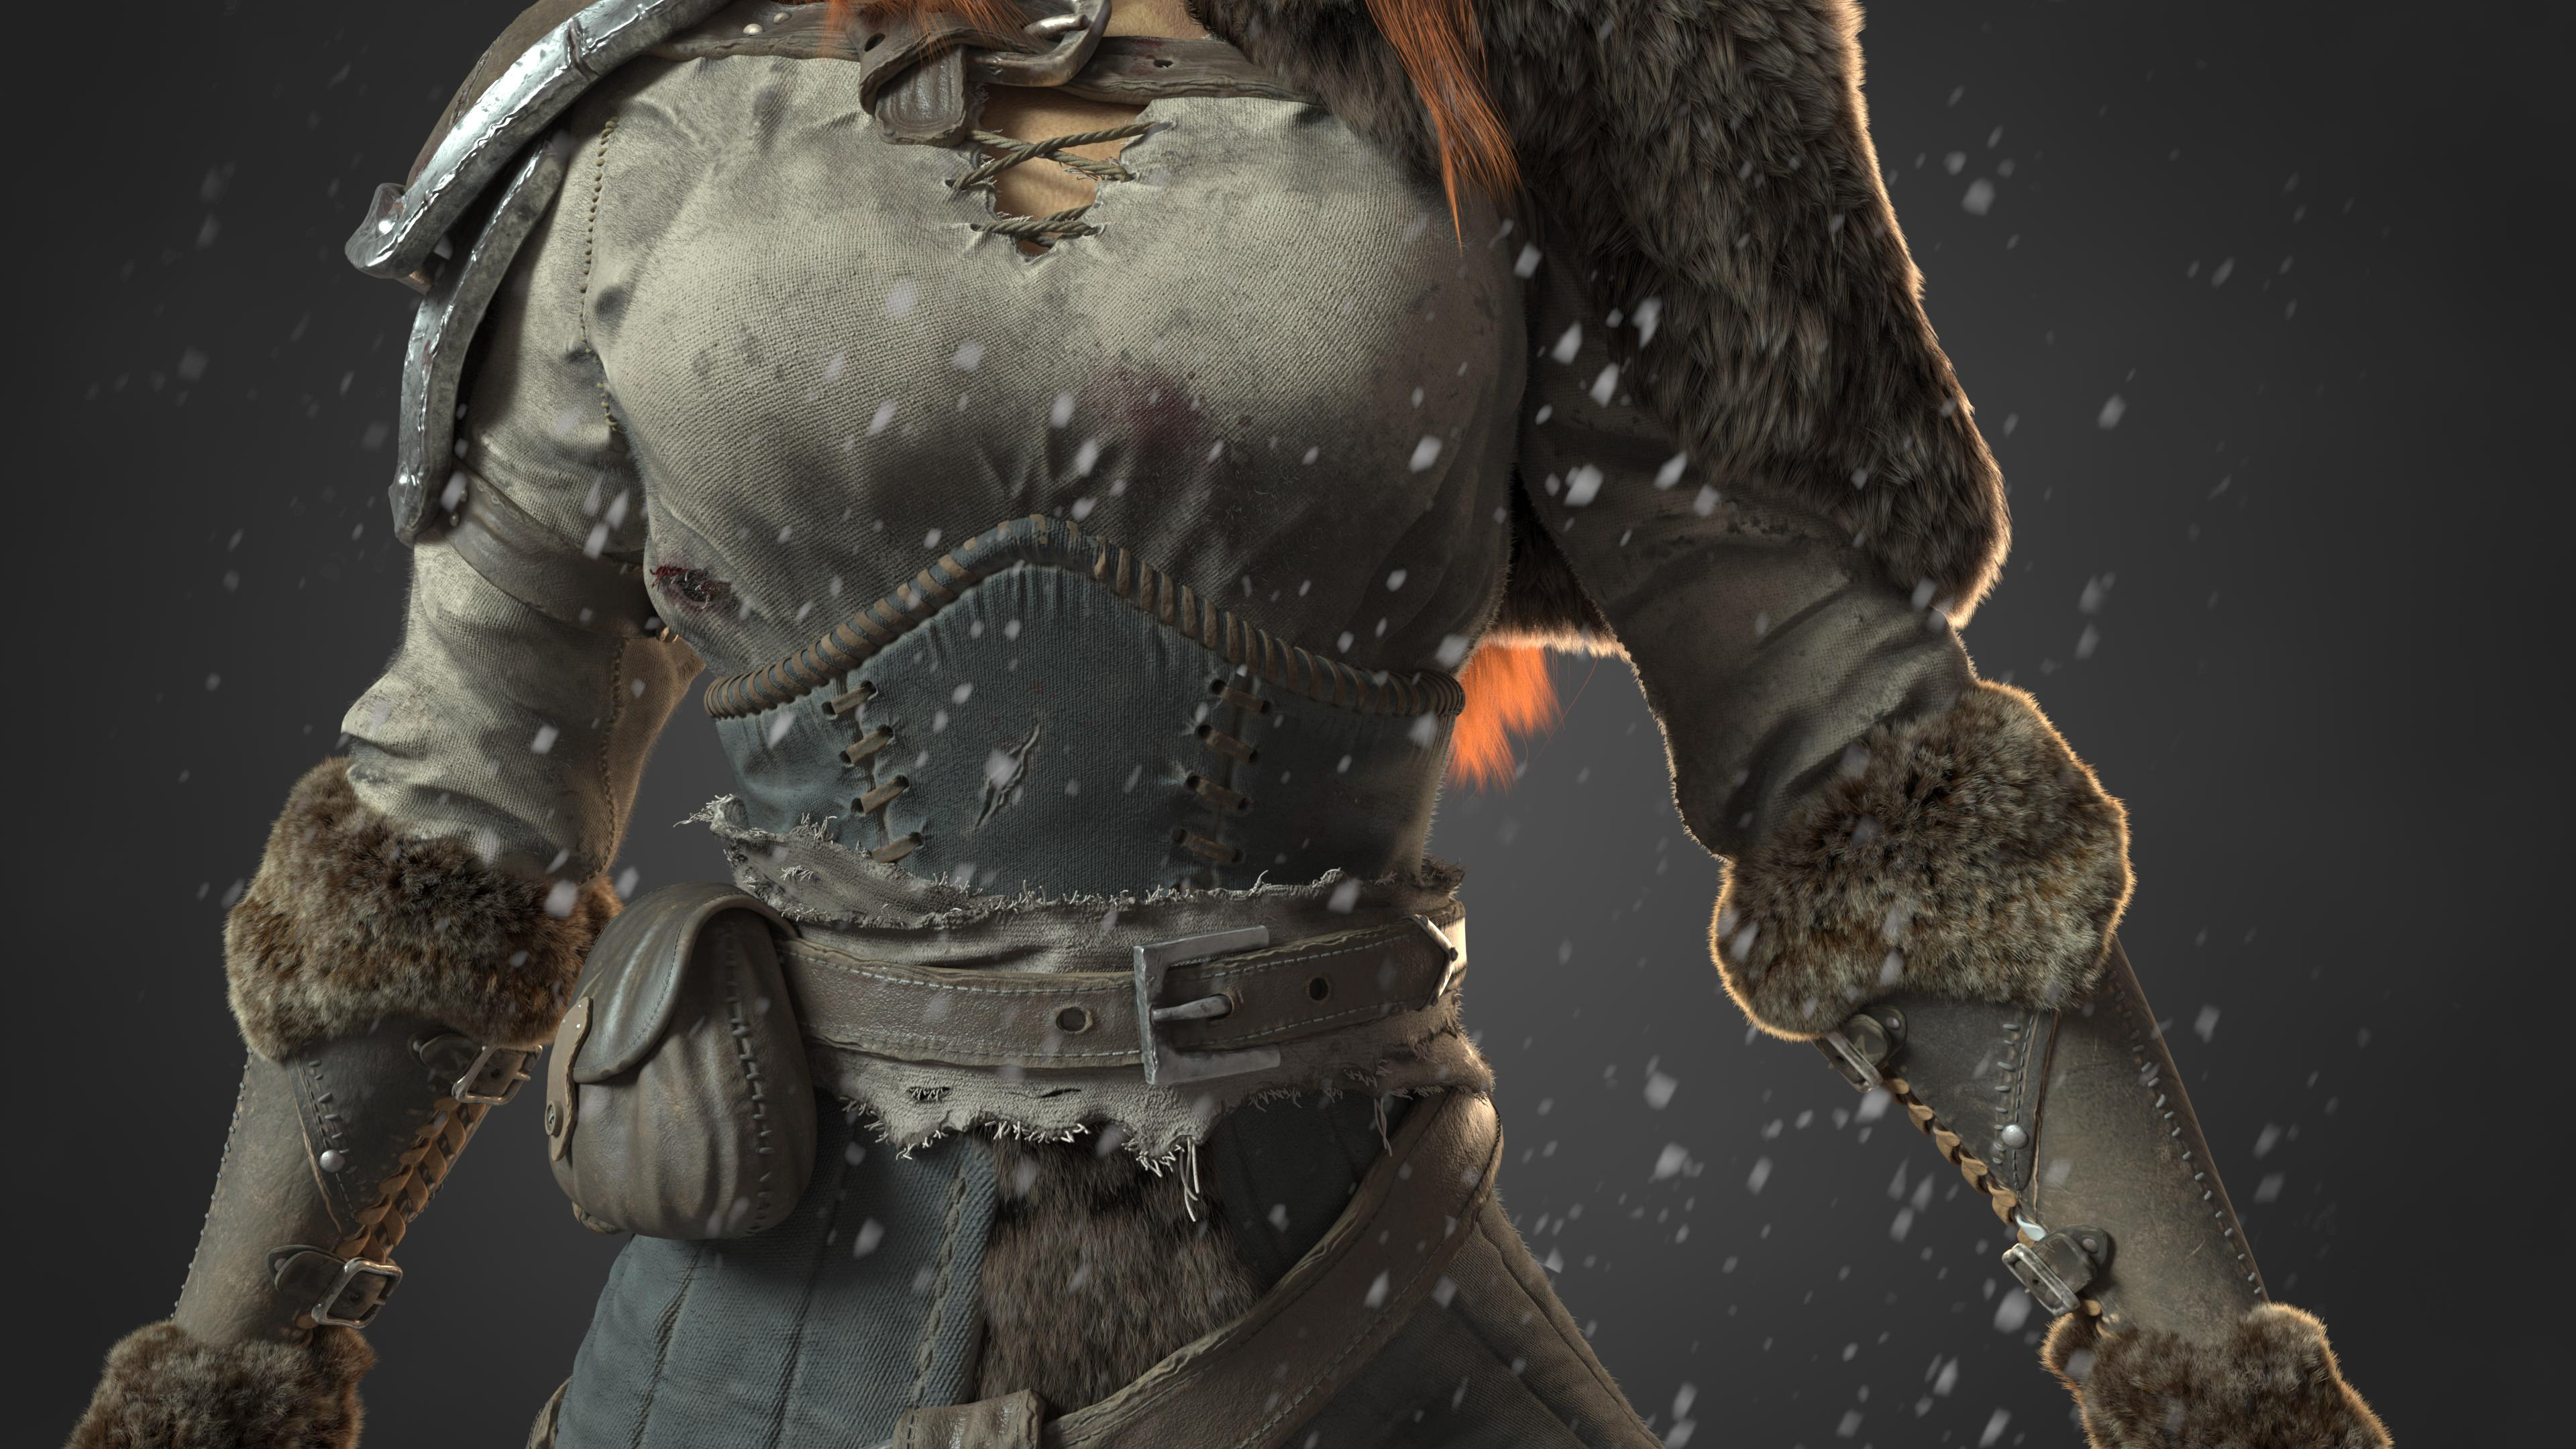
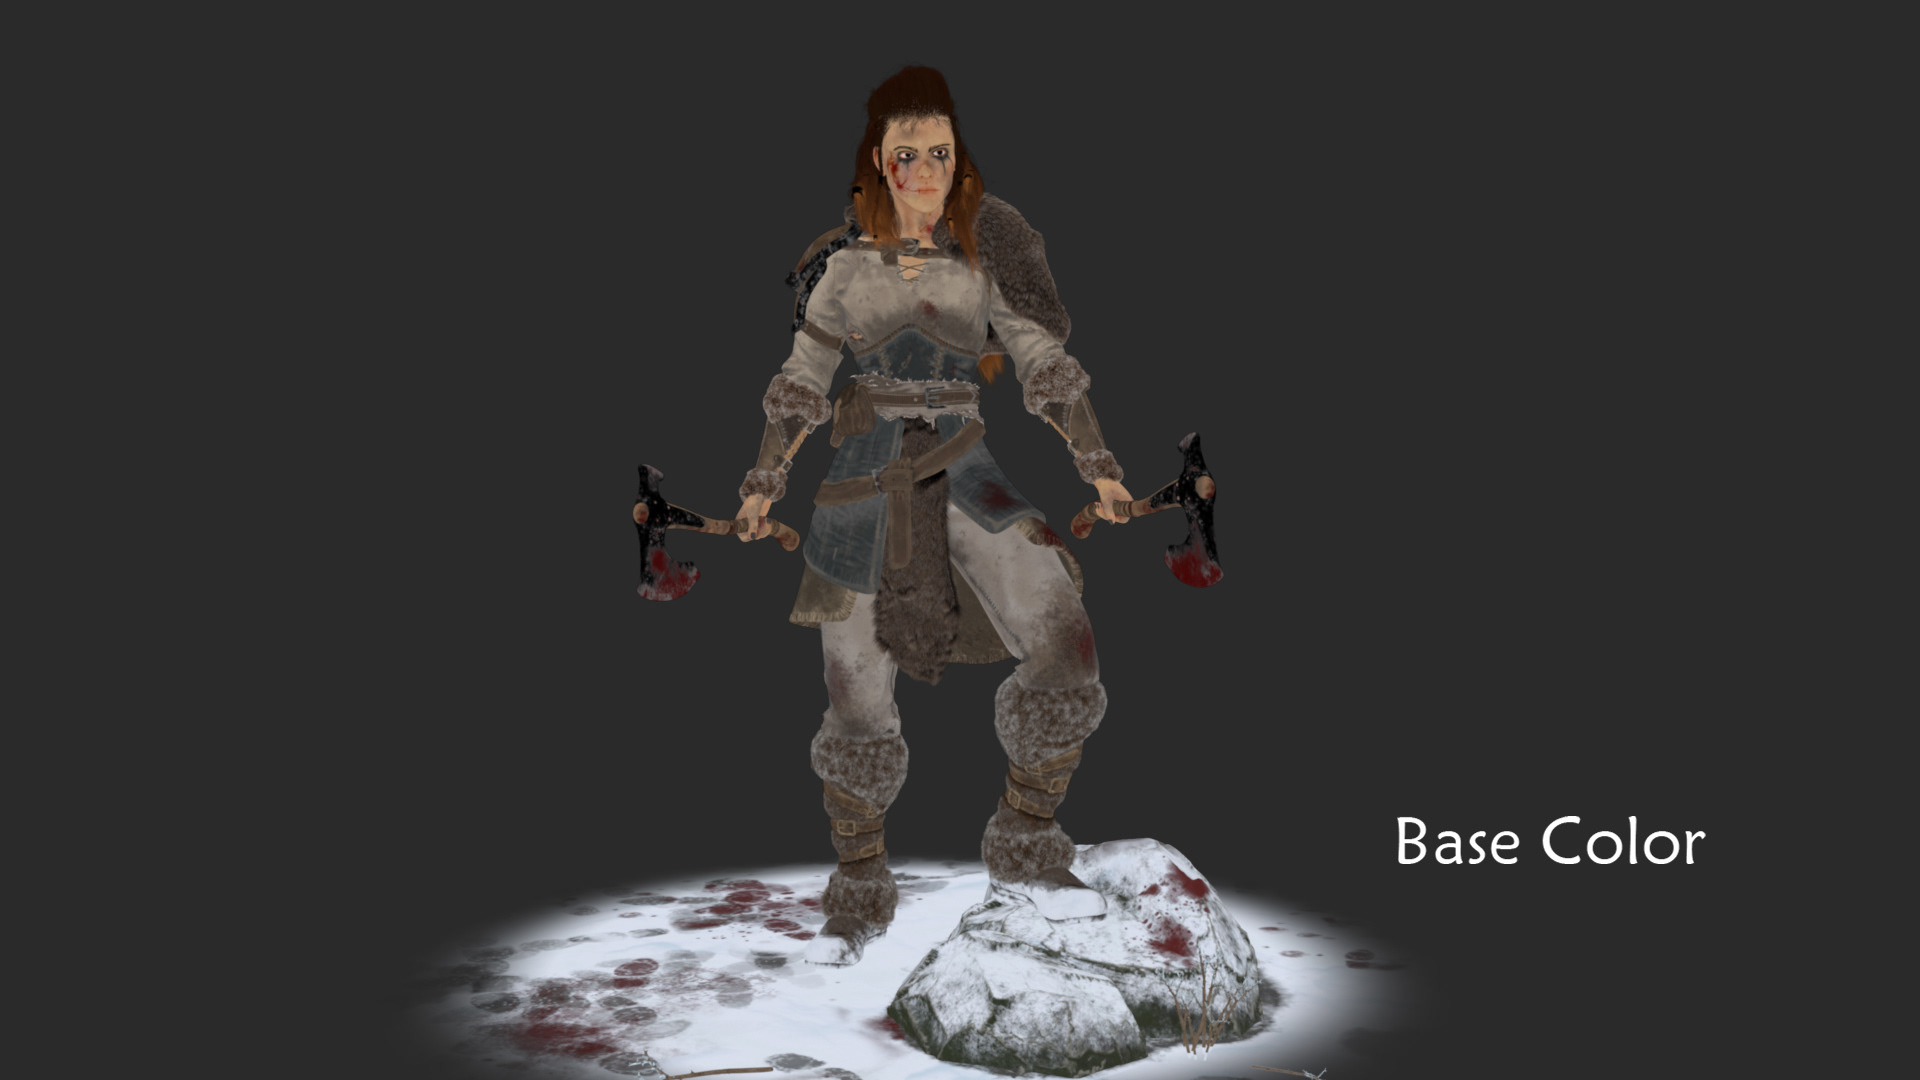
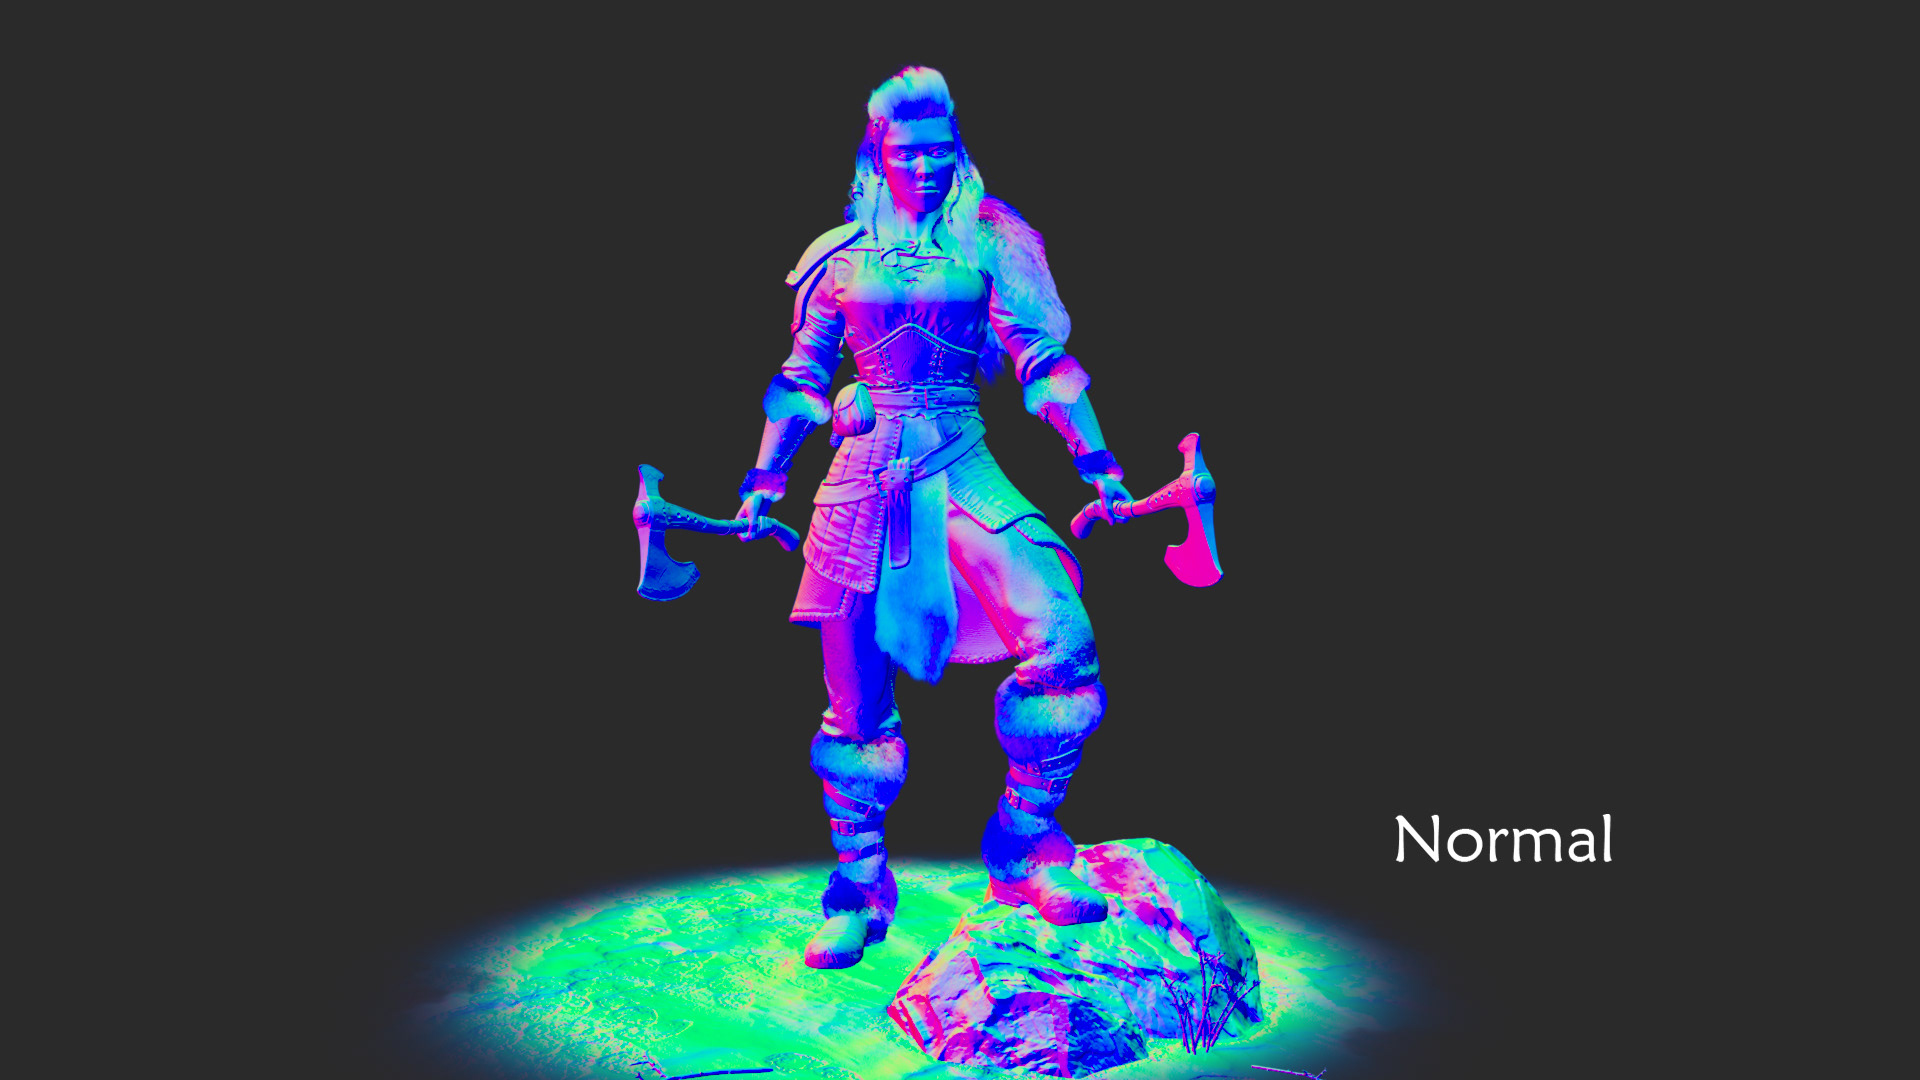
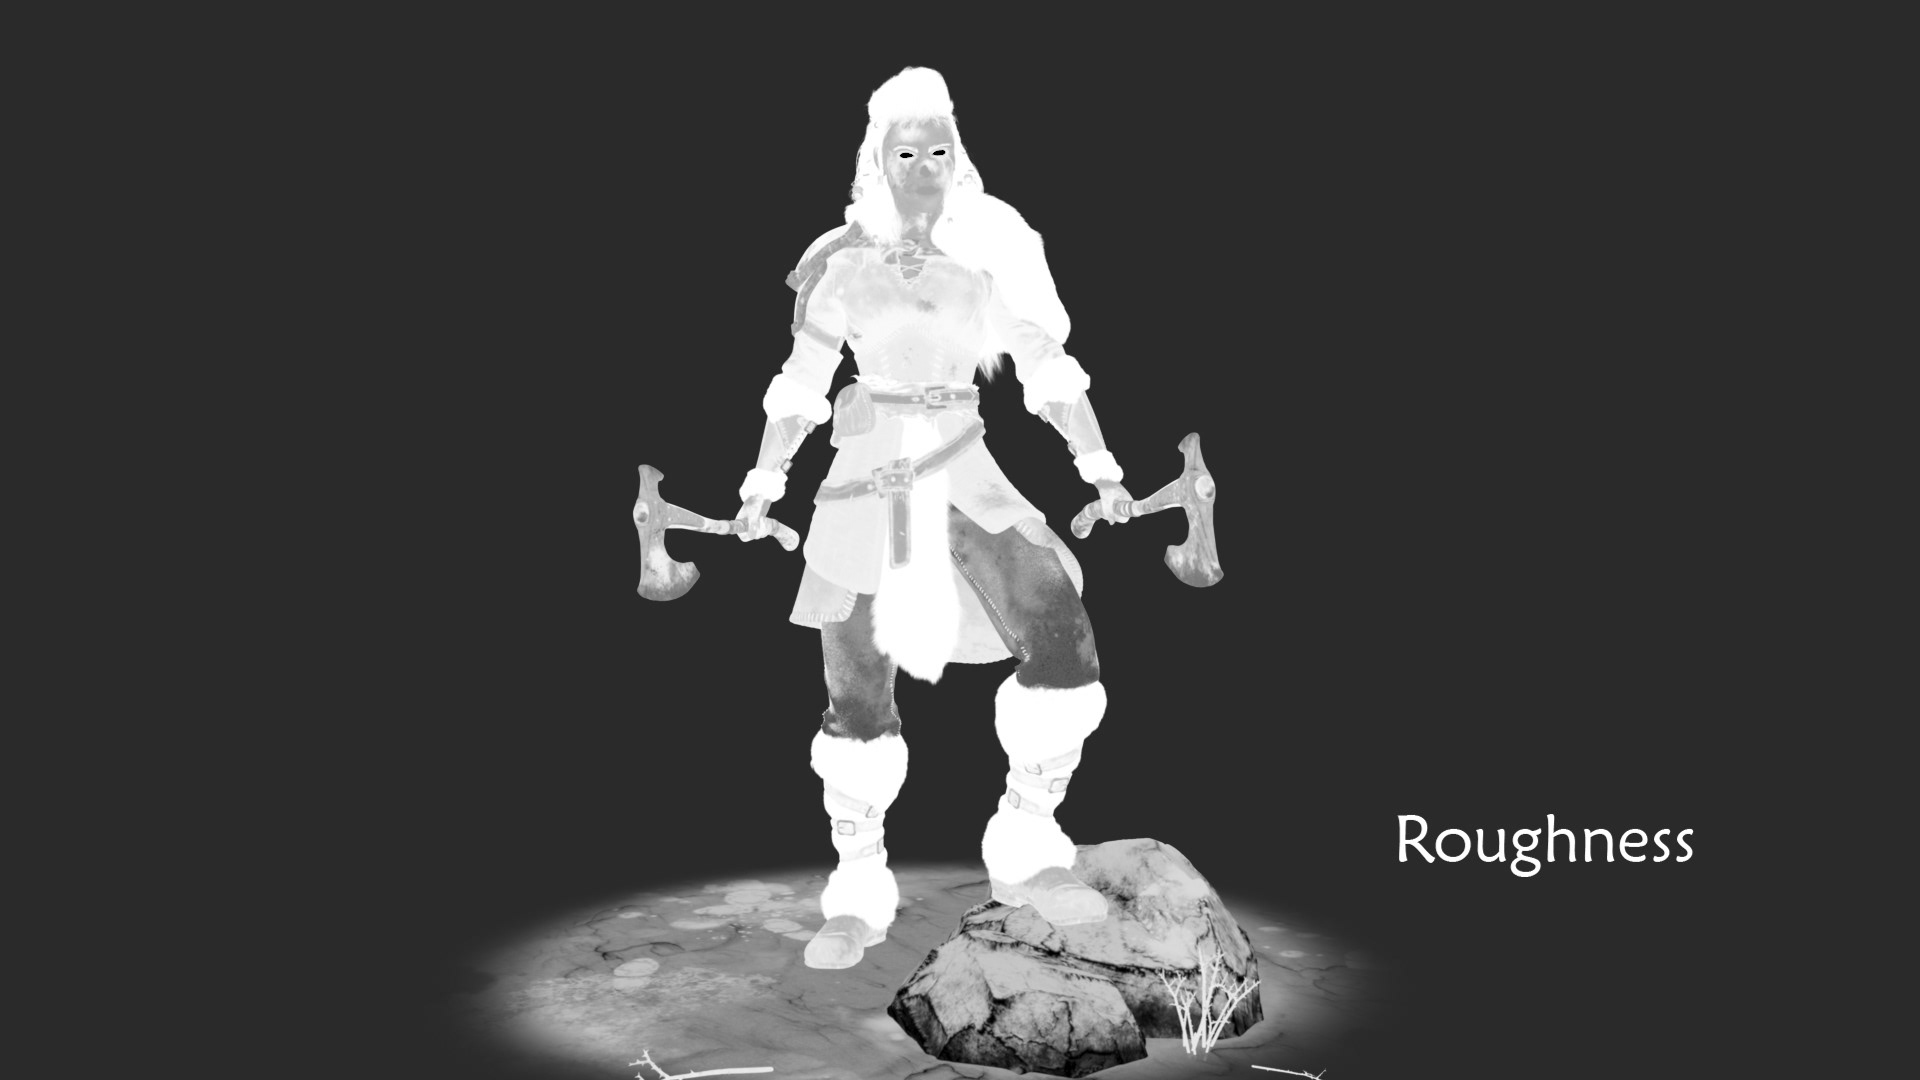
Texturing I started in Mari, where I made the texture for the Skin. From there I switched to Substance Painter, where I overpainted the skin textures and added more details. The armor, clothing and accessories I made in Painter too.
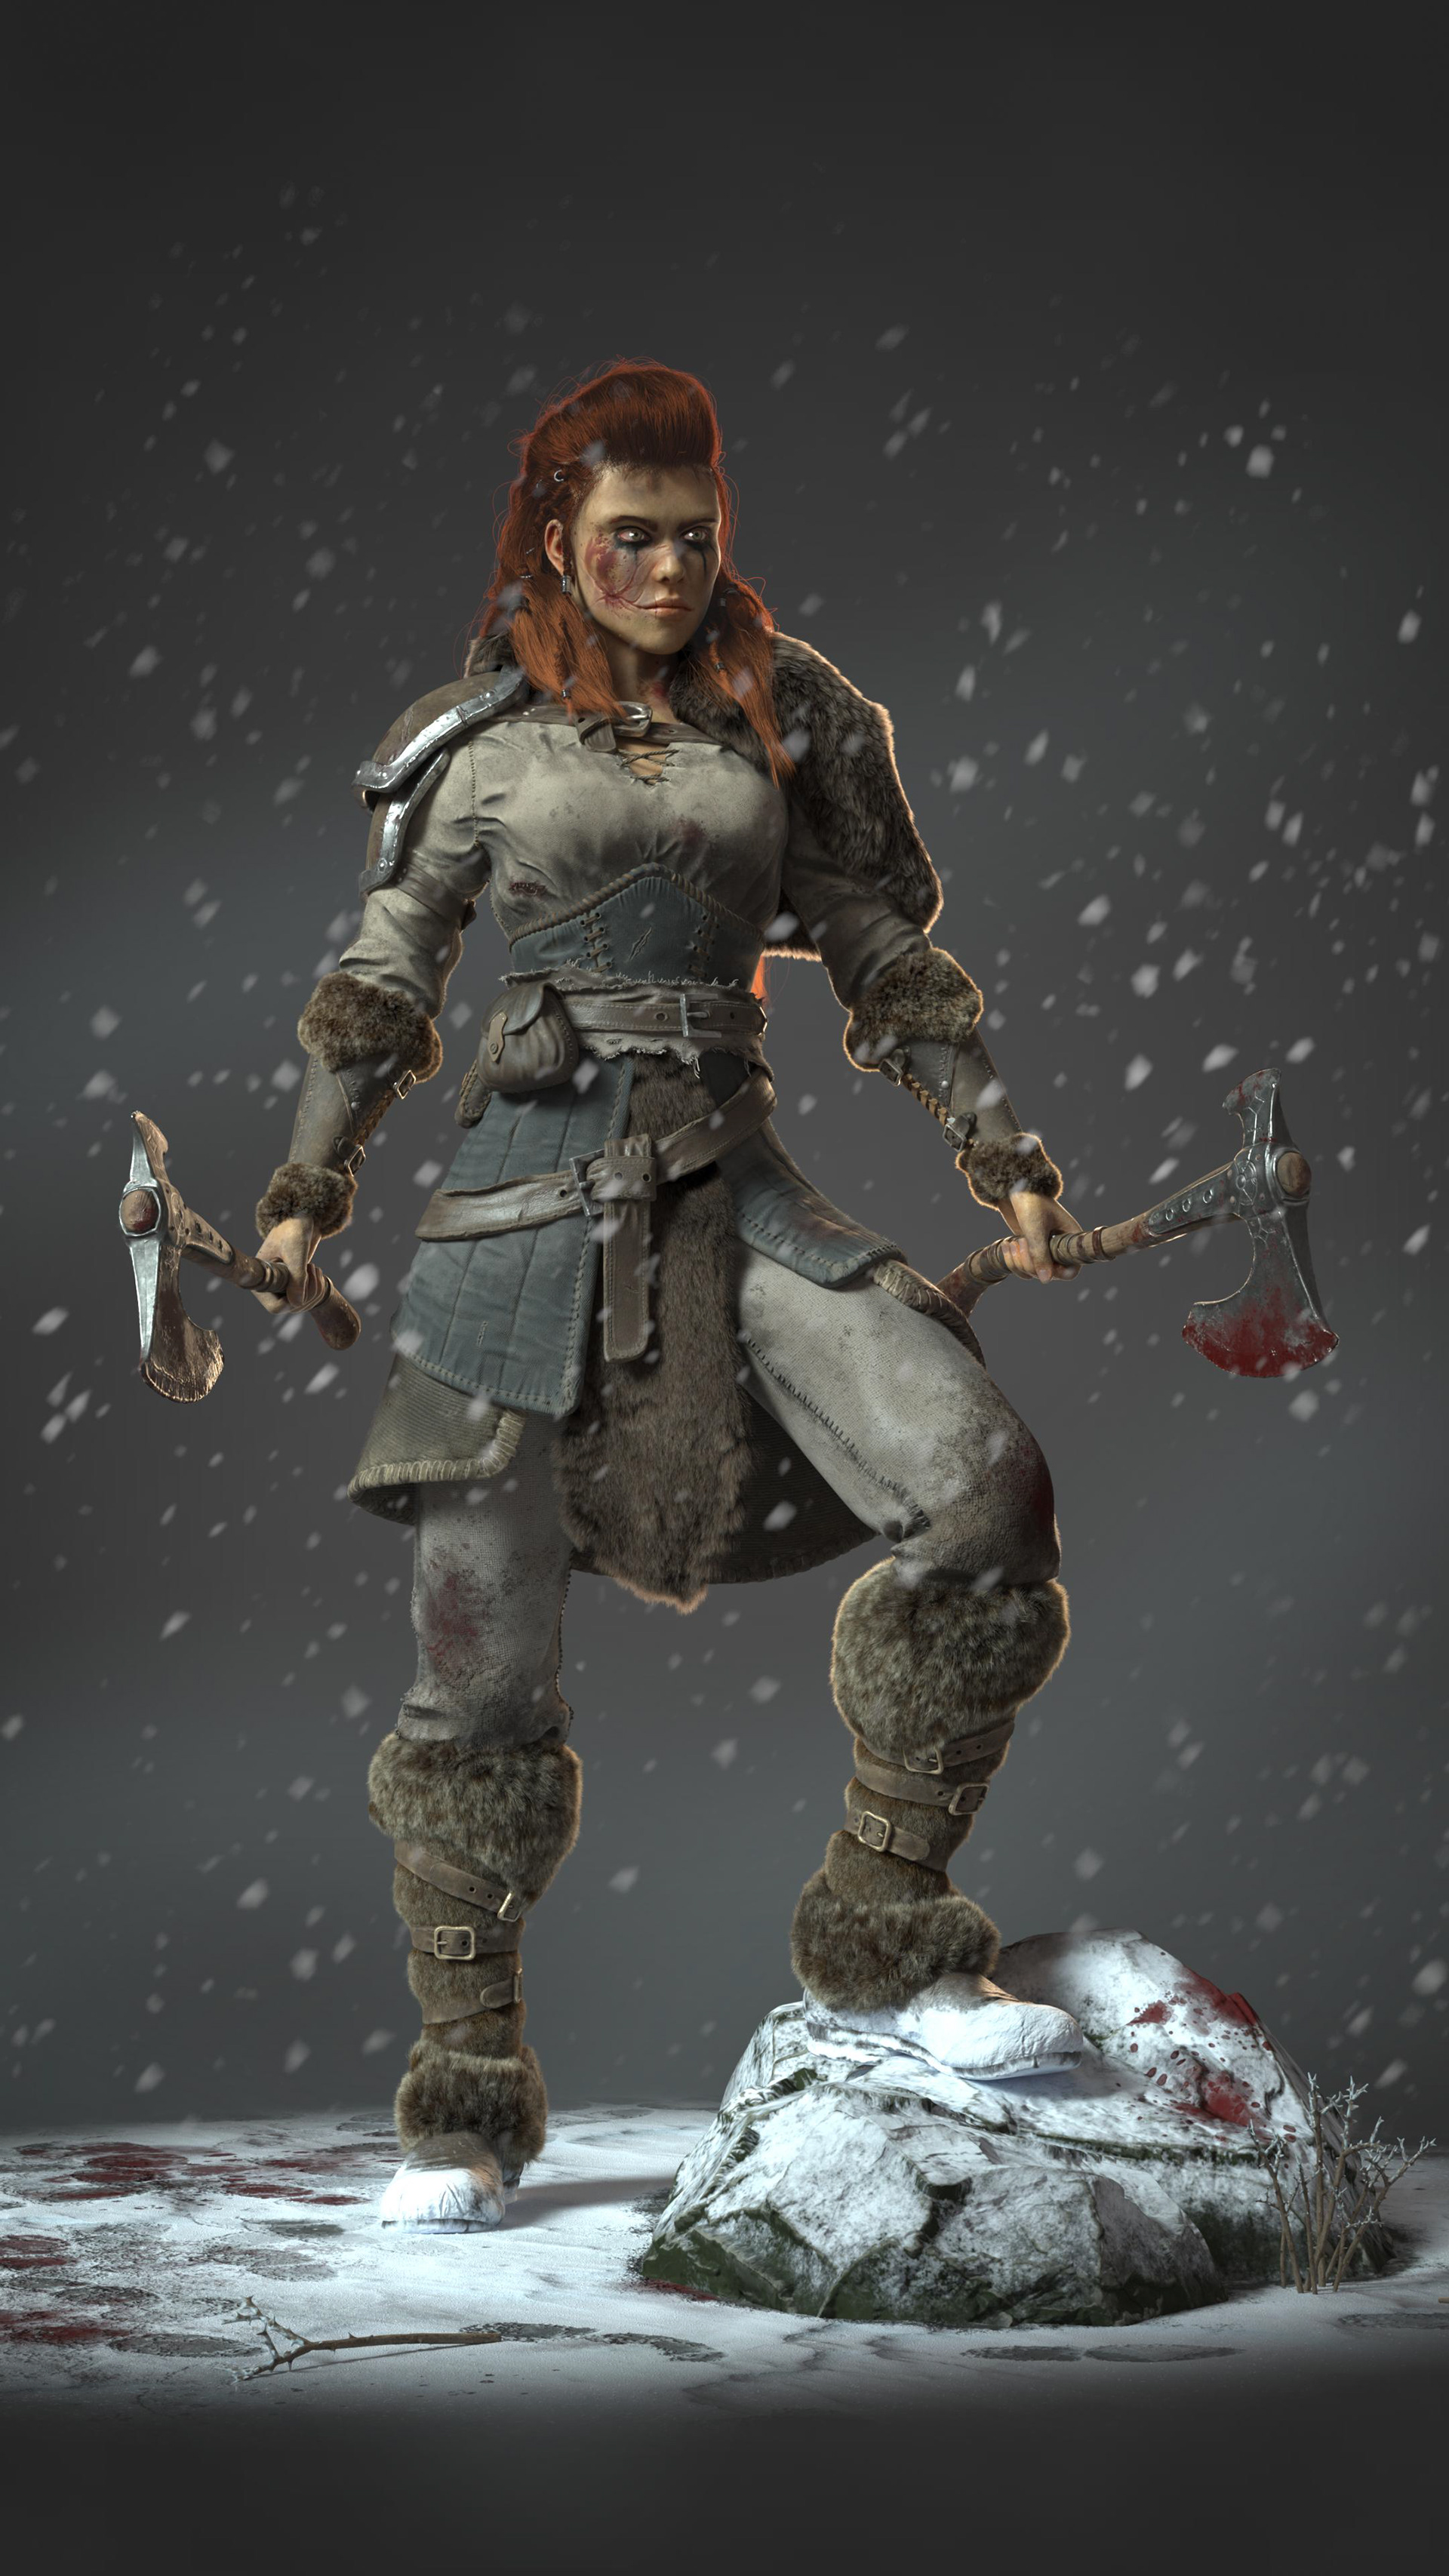
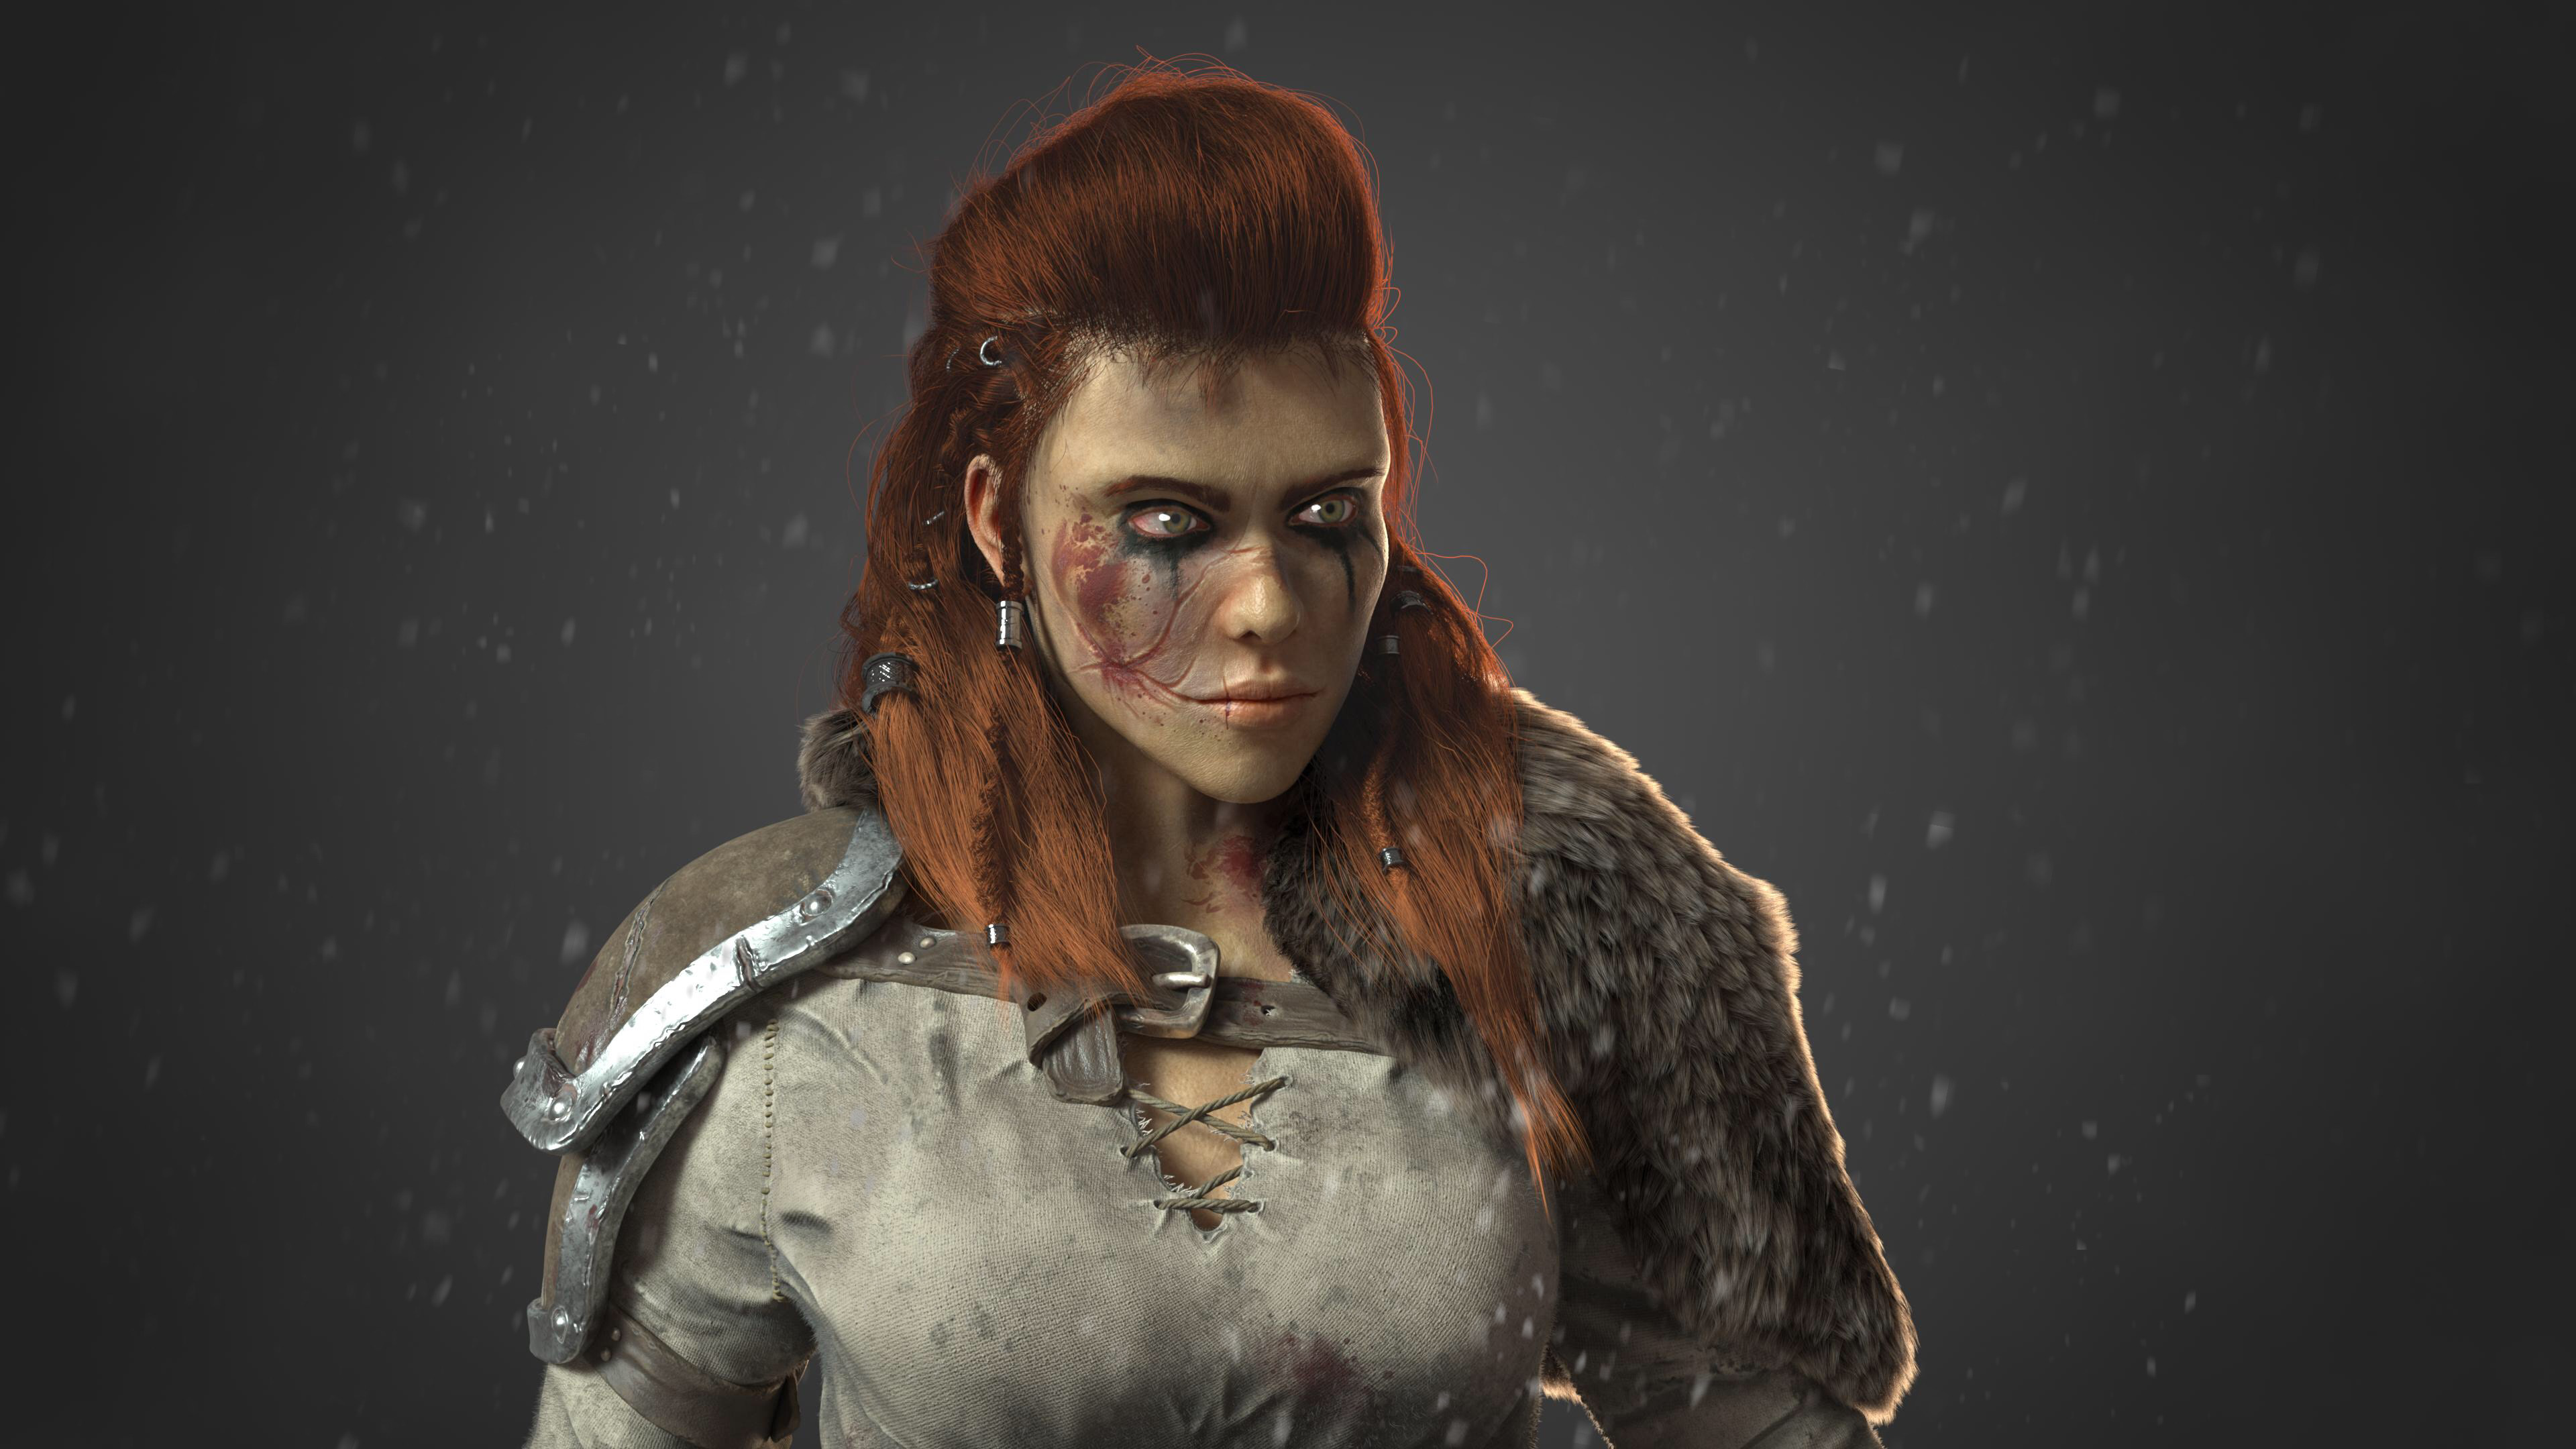
When I was happy with the textures I started working on the fur. I modeled some simple shapes from which I generated the fur with Maya’s xgen. For her hair though I decided to use the interactive groom splines instead of the normal xgen primitives, as I have a bit more control with them. I think the hair and fur were most challenging part for me this time since I hadn’t done anything like that before. Especially the braids took me a lot of time until I was happy with the result. Because I generated the fur and hair on the A-Posed model I had to simulate them with the model into the posed version (which was quite annoying and time consuming as I had some trouble with caching…). One of the things I will approach different next time with either modeling the character directly in pose or rig and pose it before generating the fur.
As soon as I was happy with the posed fur and hair I started to texture the socket, which was only a rough blockout at that point. The last things I did were the lighting and some adjustments on the hairs later in Nuke.
As soon as I was happy with the posed fur and hair I started to texture the socket, which was only a rough blockout at that point. The last things I did were the lighting and some adjustments on the hairs later in Nuke.
I especially struggeled during this project with the hairstyle and xgen in general. First of all I had problems with creating the density map because I used several UV patches but didn't know at this point that the density map format doesn't support UDIMs.
The solution was quite simple: creating a second UV set that uses only one patch. After that I had some problems with caching the xgen information out. In the end I converted the xgen primitives to interactive groom and cashed it out there, which was a good solution for me in this case.
The solution was quite simple: creating a second UV set that uses only one patch. After that I had some problems with caching the xgen information out. In the end I converted the xgen primitives to interactive groom and cashed it out there, which was a good solution for me in this case.
Since I didn’t want to use a specific concept this time, I collected several ones, picked out the part I liked best from each and put together my own. To get a more detailed picture of the armor, clothing and the face, I naturally looked for more references to help me with modeling and texturing later.
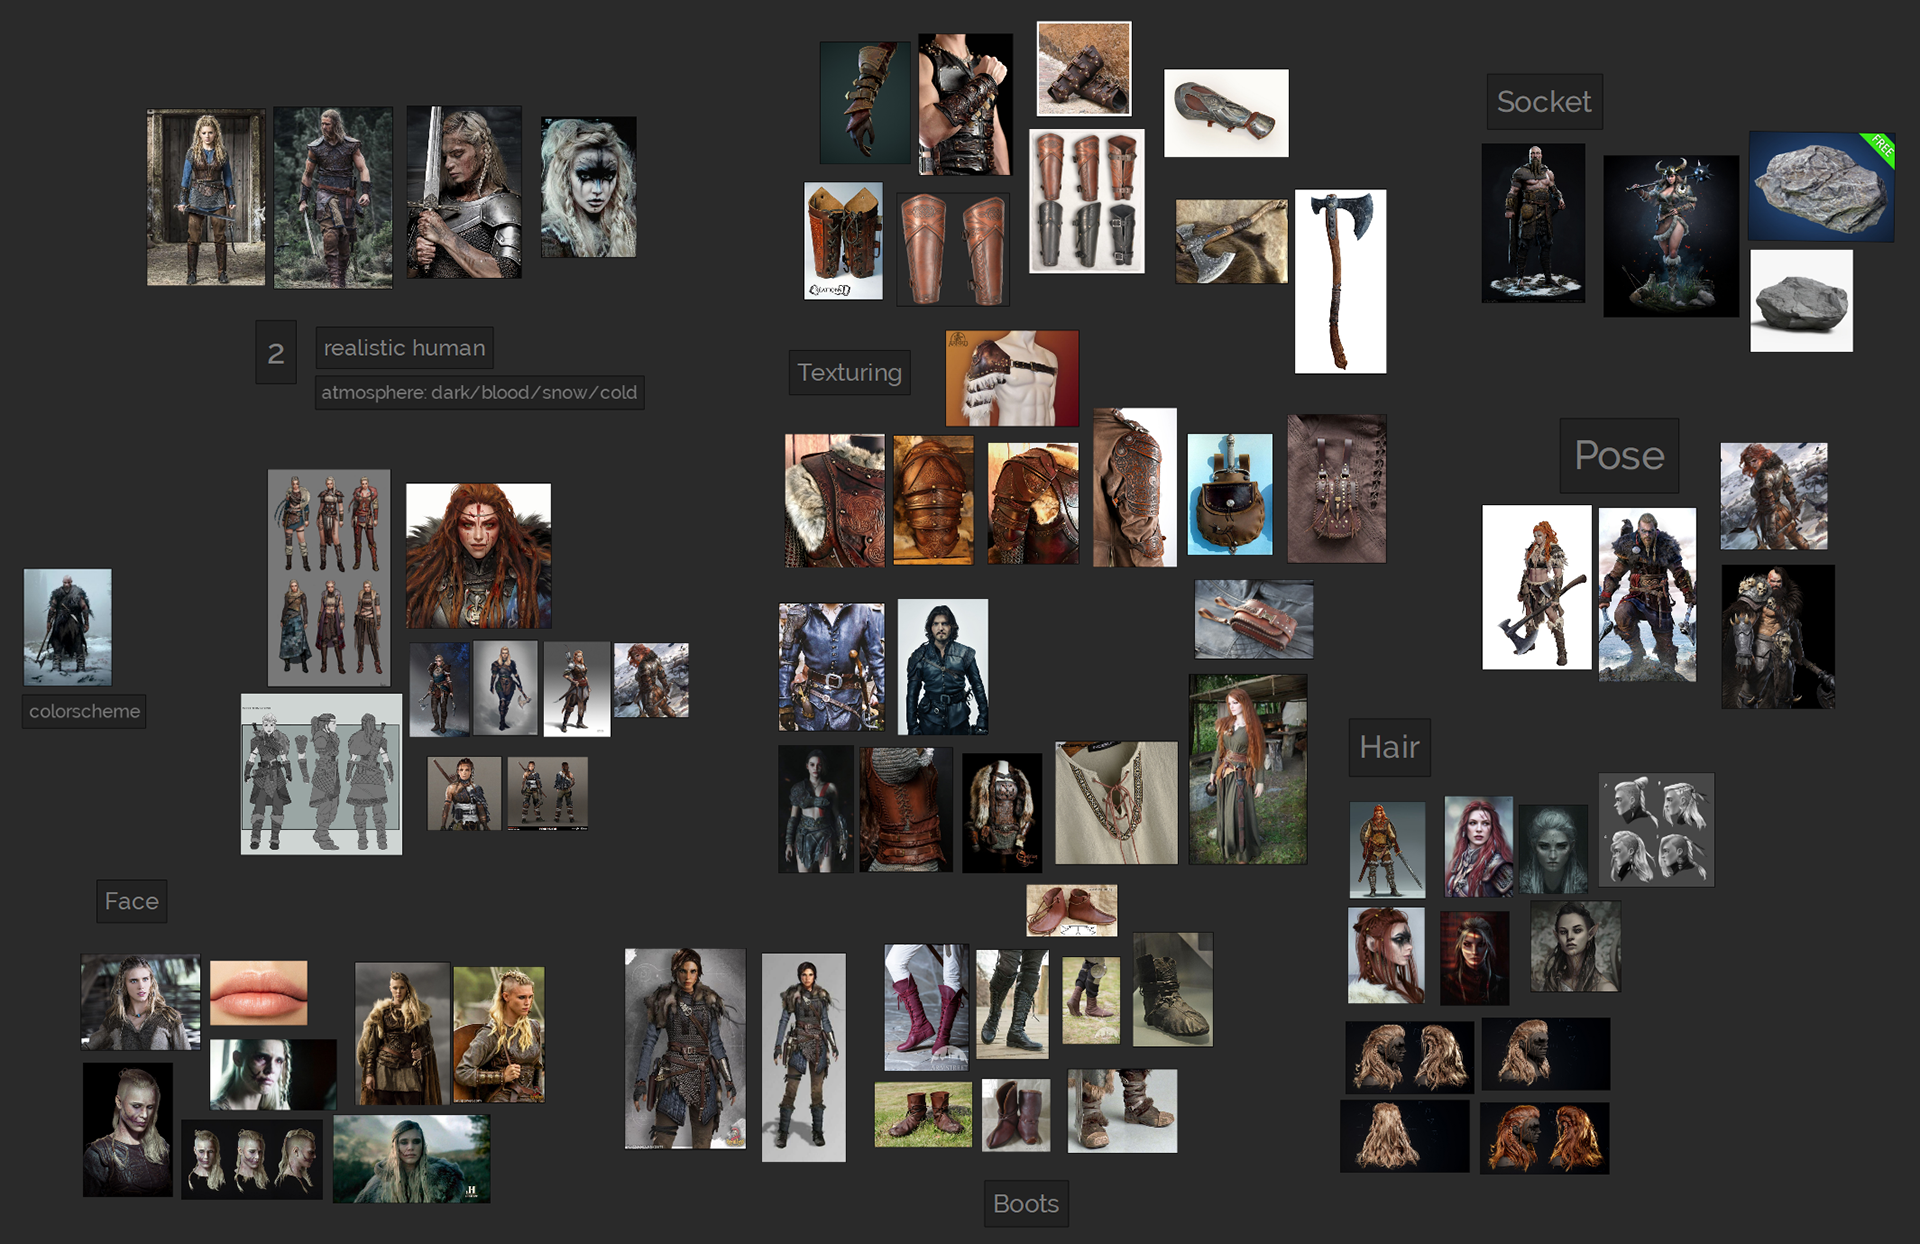
References
Since this was my first attempt on a realistic character I learned very much during the process. I’m now way more confident with xgen and displacement maps as before. Also I spend a lot of time studying references what will help me with future projects too.
Planning my project was very important to me to get an overview what things must be done. Since I had to deal with some new techniques, I also had to save a little more time for possible problems and tutorials. I made a weekly to-do list and created milestones for myself which really helped me getting this one done.